Showing posts with label how to... Show all posts

21.4.14

speakers cover!

  If you have cats in the house you will definitelly have some ruined stuff. One of them in my house are the speakers where someone scratch their nails and look like this..

  So I decided two make fabric covers for them.. you will need
  • fabric (a little larger than the speakers)

  • thin elastic
 And now:
  1. cut your fabric a little bigger than your speaker (3cm bigger would be ok) with rounded edges
  2. you can use your serger, if you have one
and then sew the elastic on the edge of the fabric


as you go on it will start to look like this


And you are done!!
before+after

17.6.13

eyebrow tweezer!!

Yes, you can have it in the sewing room!!


 As I was watching the last 'Project runway' Ι saw using an eyebrow tweezer to remove the threads.. If you unpick a lot you will find it very usefull.. I did :) !!

2.3.13

making a backpack.)

 I haven't got a backpack like this since high school.. I always thought that it was hard to make! Turns out that it needs some time but it can happen.. step by step as everything :) First of all choose your fabric and the lining. The lining could be the same fabric that you'll make the bag.
front and back (x4 if this is your lining)

sides and down sides ( x2 if this is your lining)
Cut leaving 1cm for the seams...
fold!!

Cut the cover of the bag and the cover of the front pocket..

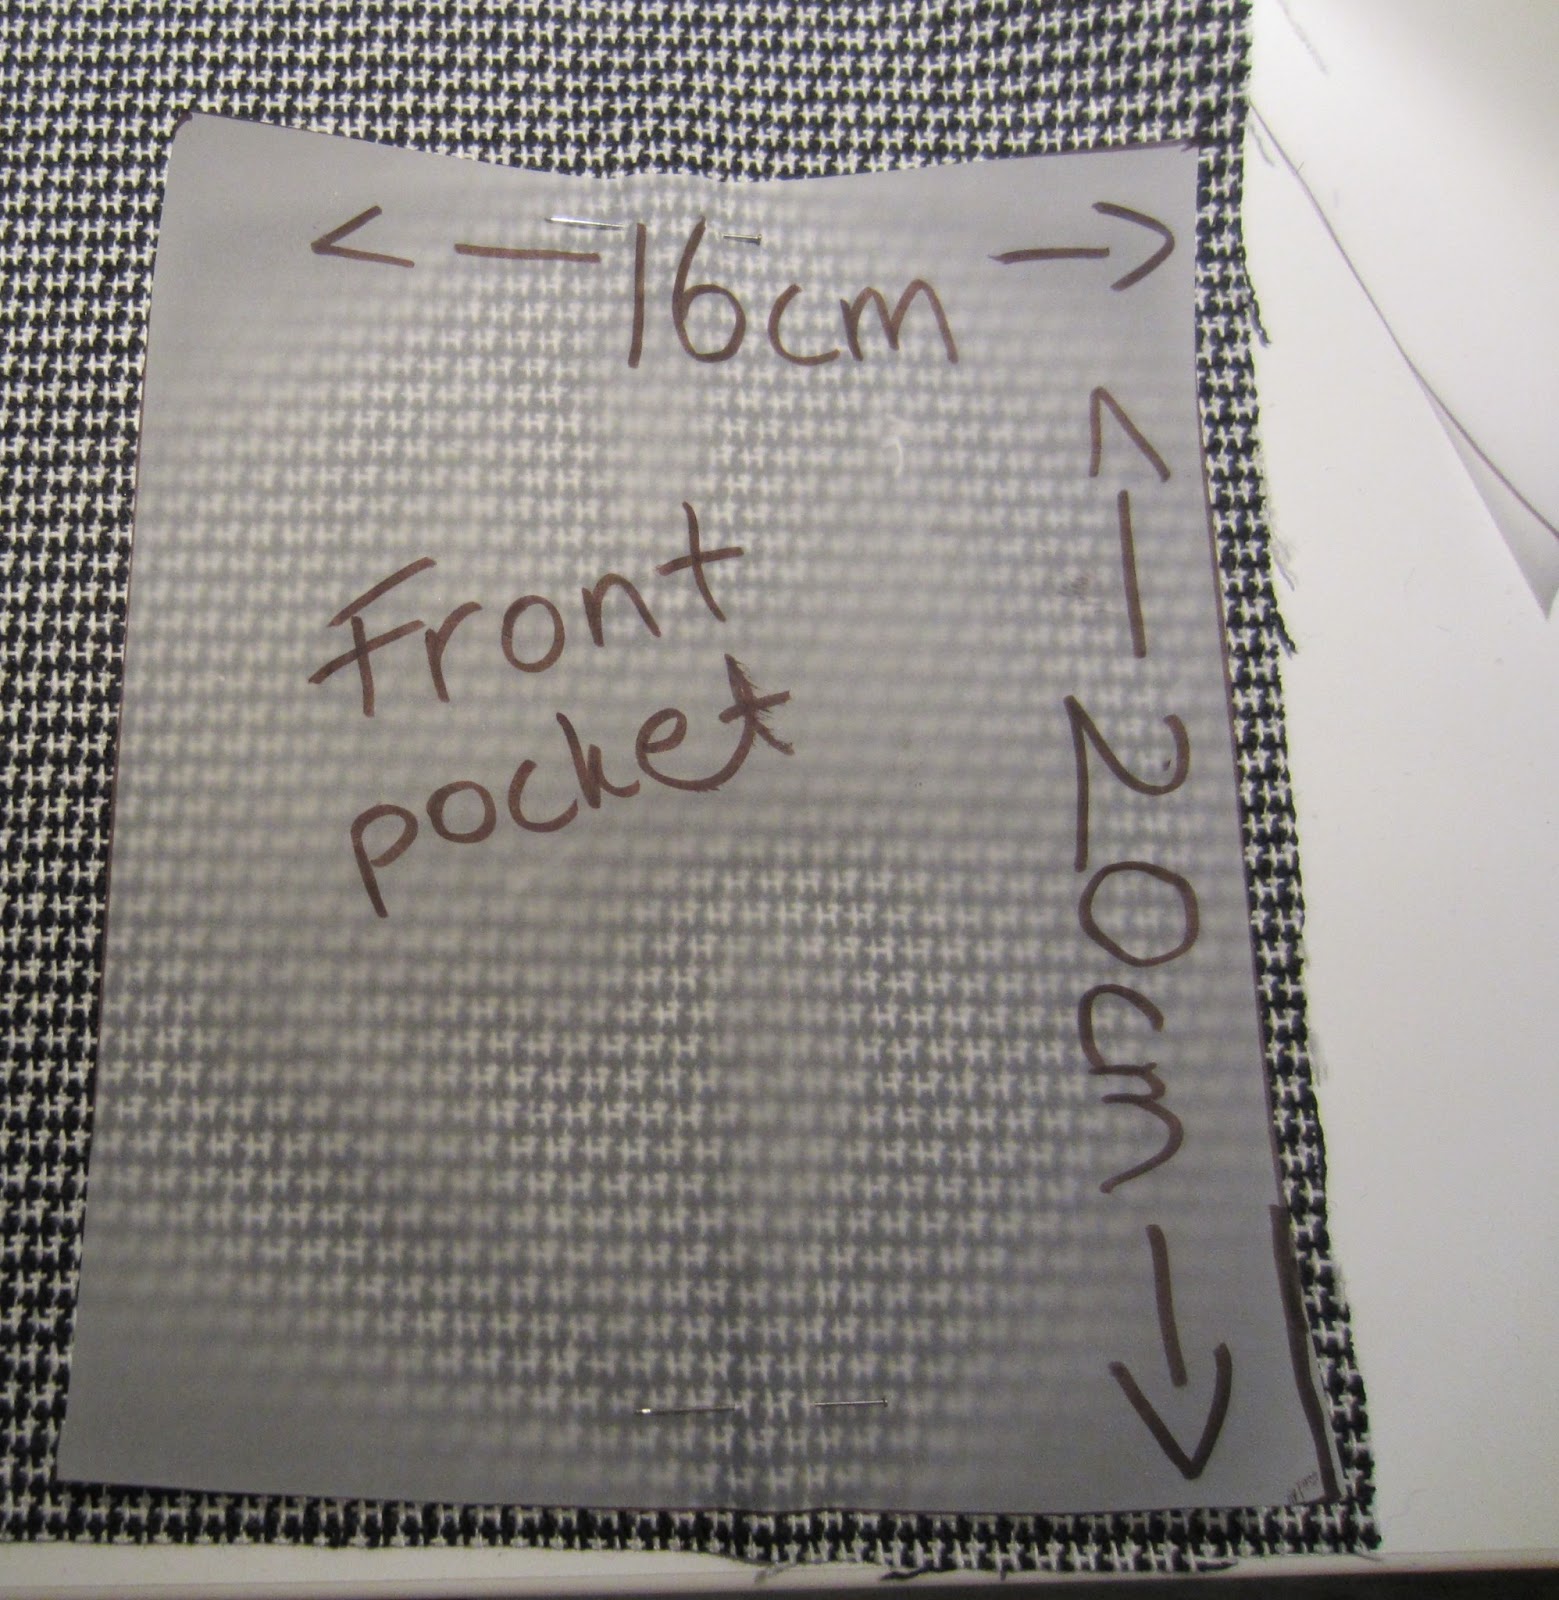
..and cut 2 rectangles, one for the front pocket and one for inside pocket.

And finally the stripes with the width and the length that you prefer.
I cut it 12cm so as to be almost 6cm.
And now the sewing part!! First of all, sew the pockets (inside and front) now that all parts are open and sew  the cover of the front pocket as well.
front pocket

sew together


turn inside out and sew again.

And now the main part of this backpack. We have 2 rectangles and 1 long piece. Sew them together so as to have this result:
sew  with a little bit of roundness at the corners.
This step will be repeated on the lining too. I used the same fabric for lining.
Then make the stripes and iron them.. Υou can sew the stripes out side or inside the bag but if you want them to be inside you have to sew them one step before. The stripes must have a smaller distance on the top.Put the lining inside the bag and cut one more stripe Sew that stripe on the top of the bag


 so as to pass through an elastic. When you sew the elastic together you must have this result.
Put the cover on the bag. Choose the way that you prefer to close and to open your bag, add it and you are ready to go!!

8.7.12

as simple as it gets 2!!


 The picture here shows how easy is to make this blouse!! You need an elastic fabric, then cut two pieces of the fabric in this shape, sew together the shouders and then try it on...
 ..mark the  blouse so as it fits your body while you wearing it and then sew leaving of course open space for the "sleeves". You can end the neckline and all the blouse with binding or just with stitching. Up to you!!


20.2.12

Making a paper holder..)

 Most of us keep the toilet paper outside of the bathroom cause the space is not enough. So I made this useful toilet paper holder! First of all you have to decide how many cases you want-need. And then you will need:
  1. fabric (of your choice)
  2. Velcro 2cm  width (both sides)
  3. your sewing machine
  4. a toilet paper for measurement
    IKEA fabric
If the fabric is thin enough (like the white one) got to be double sided, if it's thick (like the black) you can make it one sided!
Once you decide the number of the papers you want to store you can start cutting by measuring like this
 

45 cm length

Remember: in the case of thin fabric enerything you cut, cut it twice!! 
Cut your as many as you want and then let's cut the back!


The back either be the same width as the cases or longer.. I made it here longer so as to save a magazine as well. 
prepare your velcro 


And now let's do some SEWING :)

 Sew all the sides. Ιn case of double fabric sew the two sides of the fabric together, turn it around and close it with a stitching.

sew the velcro facing each other


 sew your cases on the back and measure the distance again so as to be sure with a toilet paper
In order to hang it on the wall you can make or the holes above. 
READY..

FOR USE!